Delve into the irresistible world of Danish pastries with our easy Danish pastry recipe. Perfect for impressing guests or enjoying a sweet treat at home, this guide offers clear steps and expert tips for achieving bakery-quality pastries. Whether you’re an experienced baker or just starting, you’ll find that mastering this recipe is both rewarding and delicious.
Using time-honored techniques and quality ingredients, you can elevate your baking game with these delectable treats. You’ll discover the secrets to a flaky dough, creamy fillings, and perfect layers, ensuring each pastry is a triumph. Dive in and start creating your own batch of mouthwatering pastries today.
Introduction to Danish Pastries
What Makes Danish Pastries Unique?
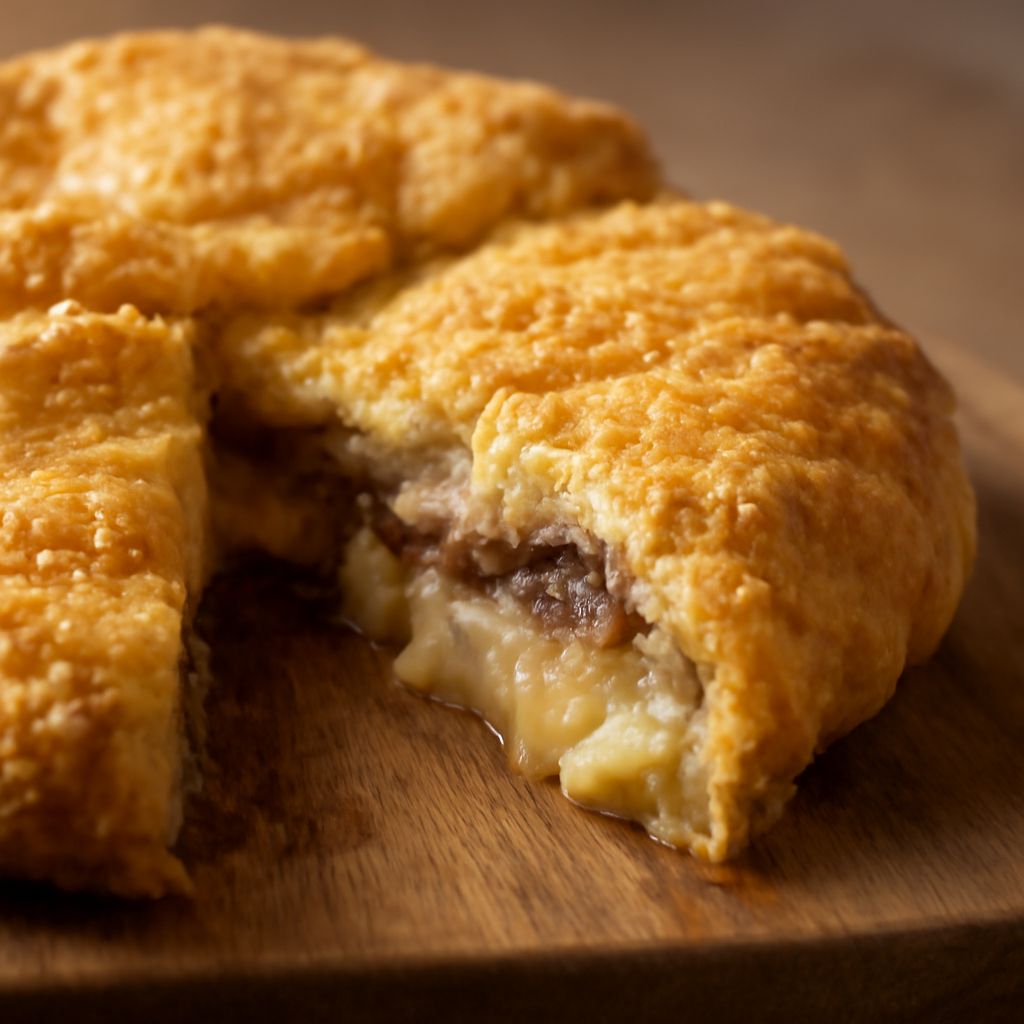
Danish pastries are renowned for their flaky layers and rich fillings. Unlike your average pastry, they combine the best of both worlds: the lightness of puff pastry and the richness of a brioche. The key lies in the laminated dough, a process involving multiple folds of butter into the dough to create those signature layers.
History of Danish Pastries
The story of Danish pastries dates back to the 19th century when Austrian bakers brought their techniques to Denmark. Over time, these pastries evolved into the beloved Danish we know today. Their popularity spread worldwide, and they remain a staple in bakeries due to their unique texture and flavor.
Essential Ingredients for an Easy Danish Pastry Recipe
Basic Ingredients
For a classic Danish pastry, you’ll need flour, sugar, salt, yeast, milk, and, of course, butter. These ingredients form the foundation for your pastry’s structure and flavor, ensuring a perfect rise and a tender, flaky texture. Opt for high-quality butter for the best results.
Special Ingredients for a Cream Cheese Danish
To create a delightful cream cheese Danish, incorporate cream cheese, vanilla extract, and lemon zest into the mix. These elements add a tangy, sweet richness that complements the buttery pastry. For an extra touch, you might consider a fruit topping or jam.
Step-by-Step Guide: Danish Pastry Recipe
Preparing the Dough
Start by mixing your dry ingredients and gradually adding milk and butter to form a dough. Knead until smooth, then let it rise until doubled in size. The key to a successful Danish pastry recipe is patience with the dough—allow it time to rest and develop flavor.
Filling and Shaping Techniques
Once your dough has risen, roll it out and fold in layers of butter, repeating the process to create the necessary layers. After chilling, roll it again, spread your cream cheese filling, and cut into desired shapes. This technique ensures a flaky texture and even distribution of filling.
Tips for Perfecting Your Cream Cheese Danish Recipe From Scratch
Common Mistakes to Avoid
Avoid overworking the dough, as this can result in tough pastries. Likewise, ensure your butter remains cold during lamination to prevent it from melting into the dough. These steps are crucial for an easy Danish pastry recipe that yields consistent results.
Enhancing Flavor and Texture
For added depth, consider incorporating spices like cinnamon or cardamom into the dough. These subtle notes can enhance the overall experience. Additionally, brushing your pastries with an egg wash before baking gives them a glossy, attractive finish.
Conclusion and Serving Suggestions
Pairing Danish Pastries with Beverages
Danish pastries shine when paired with the right beverages. A strong coffee or a delicate tea can complement their rich flavors beautifully. For a special occasion, consider a sparkling wine or champagne for a touch of elegance.
Storing and Reheating Tips
While fresh is best, you can store Danish pastries in an airtight container for up to two days. To revive their freshness, reheat them in a 350°F oven for a few minutes. This quick step restores their flaky, buttery texture.
Bottom line: Mastering the art of Danish pastries is both an enjoyable and rewarding endeavor. With our easy Danish pastry recipe, you’ll be well on your way to creating perfect pastries every time. Enjoy the process and savor the delicious results!
Related Posts
Gluten Free Puff Pastry: A Delicious Guide
Imagine sinking your teeth into a flaky, buttery pastry without…