Have you ever wondered how to keep the fresh taste of cucumbers alive long after the summer sun has faded? Canning pickles is the perfect solution. By following a dill pickle recipe canning process, you can enjoy the crisp, tangy taste of homemade pickles all year round. Not only does this method preserve the delightful flavors, but it also offers a unique way to customize your pickles to suit your taste.
This guide provides detailed instructions on how to achieve perfect results every time. You’ll find easy dill pickle canning recipe tips and learn about the essential equipment you’ll need. With expert advice and step-by-step instructions, you’ll be ready to dive into canning pickles and savor the results for months to come.
Introduction to Canning Pickles
Why Can Pickles?
Canning pickles is an age-old tradition that transforms the humble cucumber into a tangy delicacy. By preserving them, you not only extend their shelf life but also enhance their flavor profile. This method allows you to capture the peak freshness of cucumbers, turning them into crisp, delicious snacks or accompaniments for a variety of dishes.
Essential Canning Equipment
Before you start, gather the necessary equipment. You’ll need canning jars, lids, and rings, a large pot or canner for boiling, a jar lifter, and a funnel. These tools ensure a smooth canning process and help maintain the integrity of your pickles.
Dill Pickle Recipe Canning Basics
Ingredients Needed
To create your dill pickle recipe canning masterpiece, you’ll need fresh cucumbers, white vinegar, water, pickling salt, garlic cloves, and fresh dill. These basic ingredients form the foundation of your pickles’ flavor.
Preparing the Cucumbers
Begin by washing your cucumbers thoroughly. Slice off both ends to prevent them from becoming soft during the canning process. You may choose to slice them into spears or leave them whole, depending on your preference.
Step-by-Step Canning Pickles Recipe
Sterilizing Jars
Place your jars in a large pot of boiling water for about 10 minutes to sterilize them. This step is crucial to prevent bacteria from spoiling your pickles. Remove the jars with a jar lifter and place them on a clean towel to dry.
Cooking the Brine
Combine vinegar, water, and pickling salt in a saucepan. Bring it to a rolling boil, stirring occasionally. This brine will infuse your cucumbers with that classic dill pickle flavor. Ensure the mixture is well dissolved and hot before use.
Packing the Jars
Place garlic cloves and fresh dill in the bottom of each jar. Add the cucumbers, then pour the hot brine over them, leaving about 1/2 inch of headspace. Seal the jars with lids and rings, ensuring they are tightly closed.
Easy Dill Pickle Canning Recipe
Quick Preparation Tips
For an easy dill pickle canning recipe, prepare all your ingredients and equipment ahead of time. This ensures a smooth, hassle-free process. Keep the work area clean and organized, making it easier to manage each step efficiently.
Common Mistakes to Avoid
Avoid common pitfalls like not sterilizing jars properly or overpacking them, which can lead to spoilage. Ensure your brine is adequately heated to prevent under-pickling, and always use fresh ingredients for the best results.
Storing and Enjoying Your Homemade Pickles
Proper Storage Techniques
Store your canned pickles in a cool, dark place for at least two weeks to allow the flavors to meld. Properly sealed jars can last up to a year, providing a lasting supply of homemade goodness.
Serving Suggestions
Your homemade pickles are versatile. Serve them as a side with sandwiches, add them to salads, or enjoy them straight from the jar as a refreshing snack. Their crisp, tangy flavor complements a wide array of dishes.
Related Posts
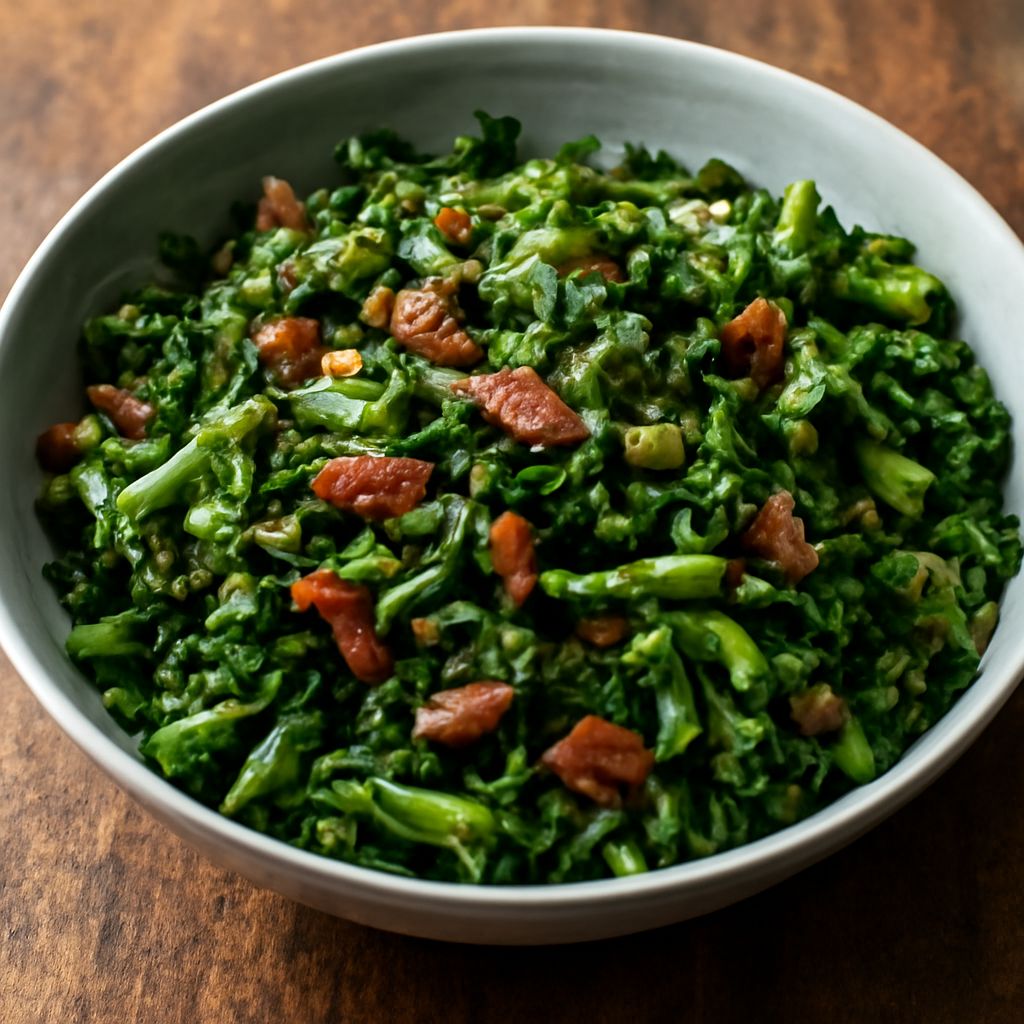
Mustard Greens Recipe: A Delicious and Nutritious Guide
Are you looking to elevate your culinary repertoire with a…
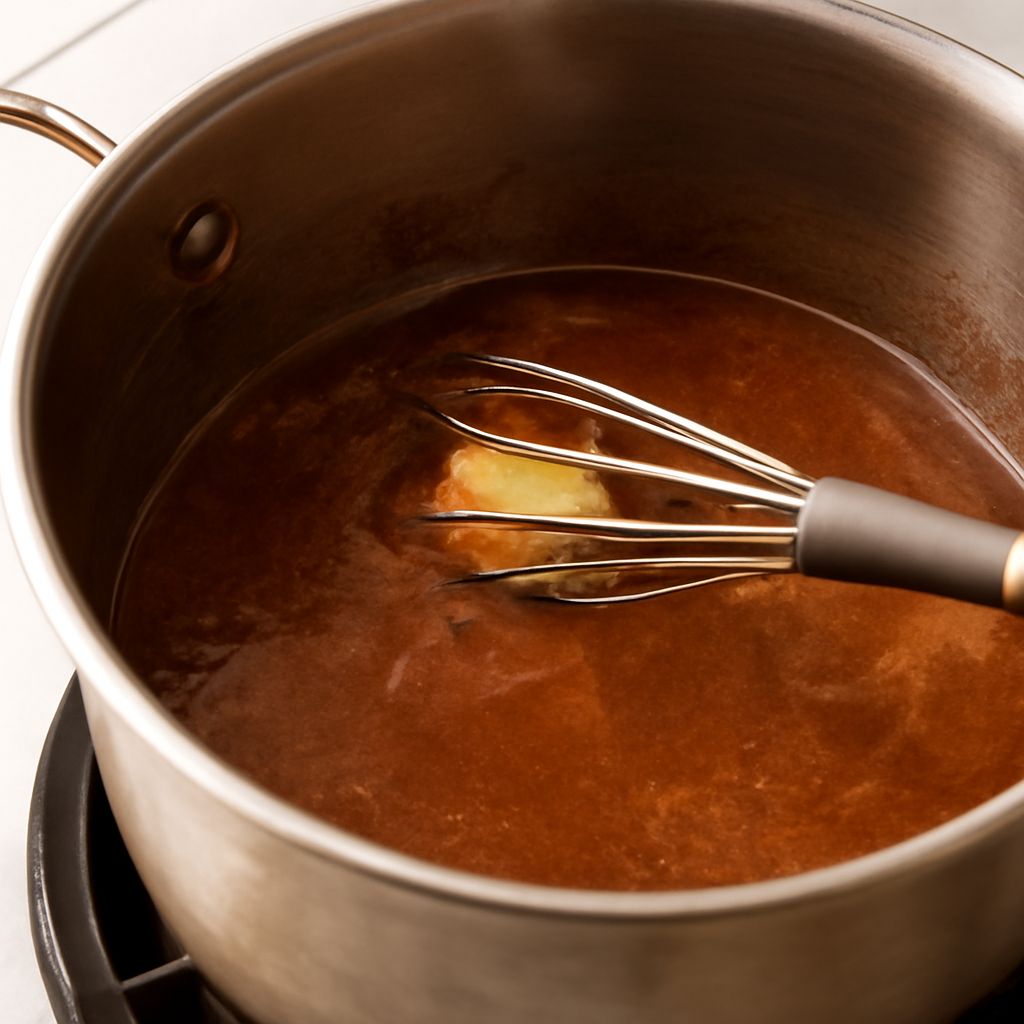
Brown Gravy from Scratch: A Homemade Delight
Crafting brown gravy from scratch elevates any home-cooked meal. When…
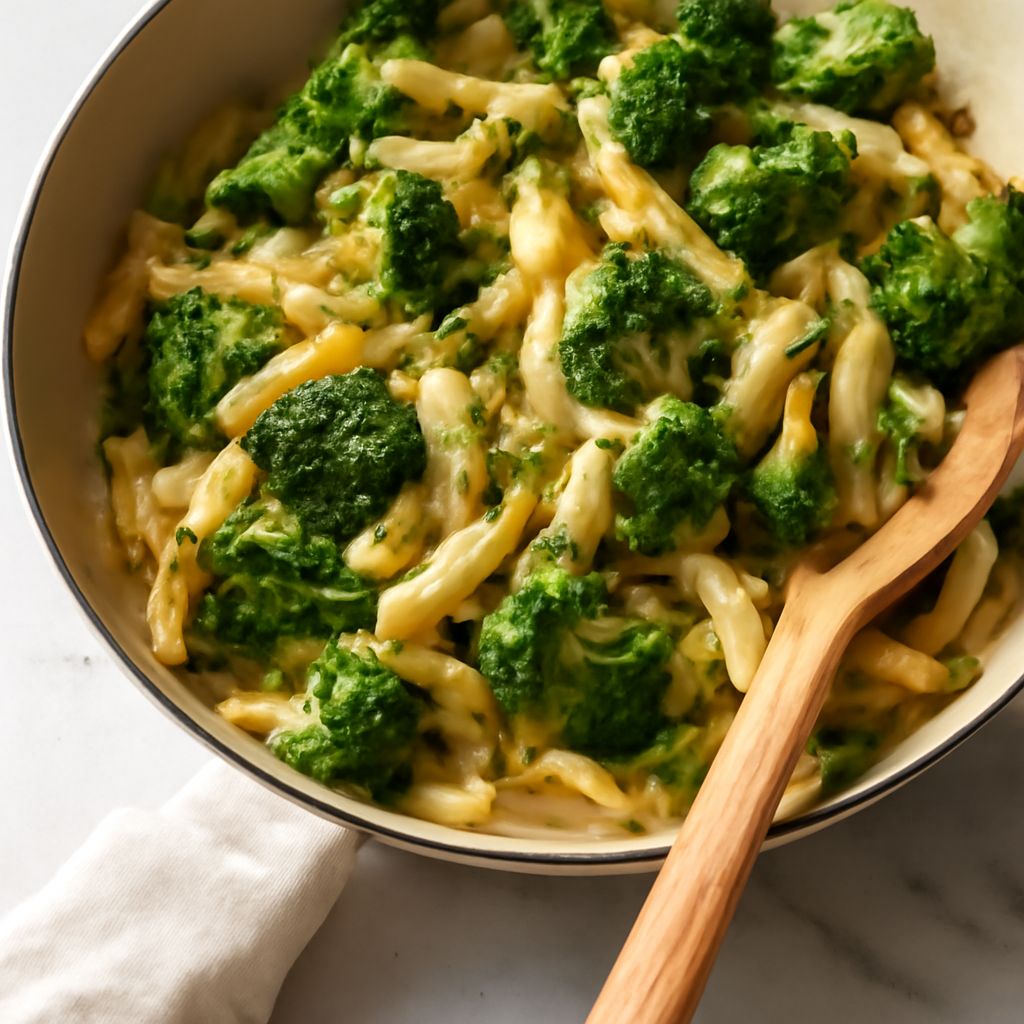
Cavatelli and Broccoli: A Delicious Italian Classic
Welcome to the delicious world of Cavatelli and broccoli, a…